What are the Spacings for Timber Cladding?
.jpg)


News
What are the Spacings for Timber Cladding?
What are the Spacings for Timber Cladding?
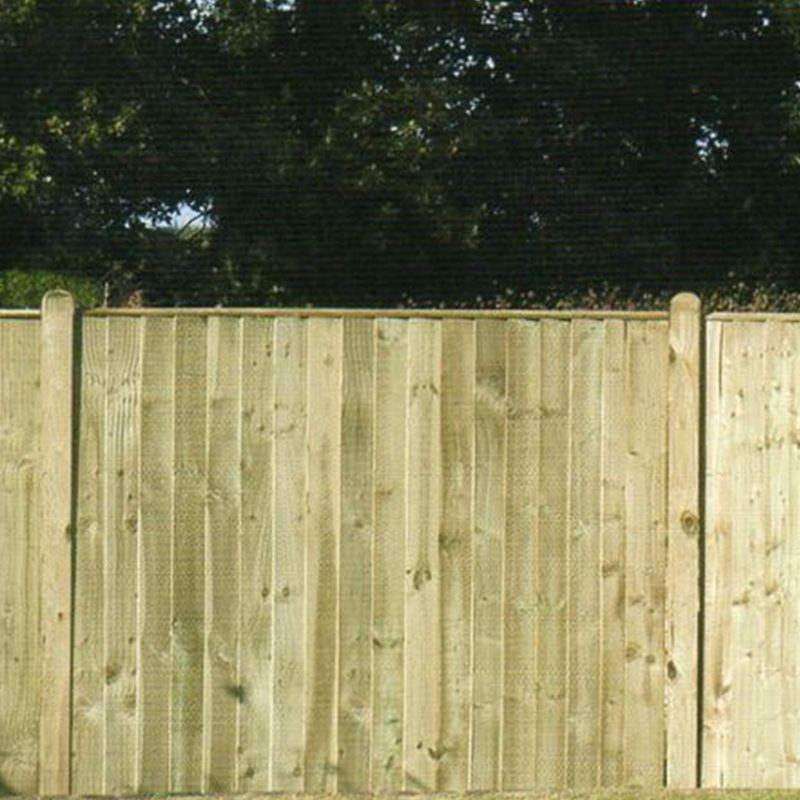
Over the last few years, timber cladding has created a place in many homeowners' and architects' lists of favourite materials for creating a natural touch - on different building types and dimensions. With more and more folks using this versatile material, comes the question of the ideal spacing for timber cladding. Below we'll go into more detail on the crucial aspect of installation and uncover secrets to a stunning and long-lasting finish.
The Importance of Proper Spacing
Getting the spacing right is more than just a question of aesthetics; it is basic to the performance and longevity of your cladding. Proper spacing between the boards will accommodate natural expansion and contraction, allow for adequate ventilation, and help in controlling moisture. Get it spot-on, and you will have a façade that does not only look gorgeous but also faces up to whatever the British weather can throw at it.
Factors That Affect the Spacing Decision
While we will get into some specific measurements a bit later, it is worth pointing out that no absolute answer exists. Depending on a few factors, optimal spacing may vary. First would be the type of timber used, since clearly the woods vary in character. For example, oak and beech are generally more stable as hardwoods, while softwoods, such as pine, might need a bit more wiggle room.
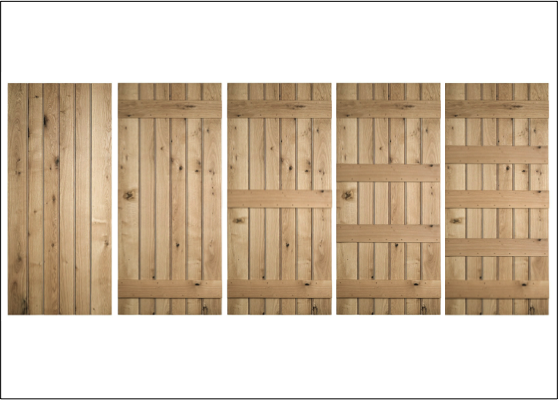
- Board Profile: The shape of your cladding boards plays a big role. Tongue and groove profiles, for example, often require minimal spacing, while square-edged boards will usually need more generous gaps.
- Local Climate: Here in the UK, we're no strangers to damp weather. In areas prone to high humidity or frequent rainfall, wider gaps can help prevent moisture from getting trapped.
- Installation Direction: Horizontal and vertical cladding might require slightly different approaches to spacing.
Finding the Sweet Spot
So, what's the magic number? For most timber cladding projects in the UK, a gap of 3-5mm often hits the mark. This spacing allows for the right amount of ventilation and expansion, while maintaining an aesthetically pleasing appearance overall.
However, it's not just about the gaps between boards. Here are a few other spacing considerations to keep in mind:
- End Gaps: You want slightly wider gaps at the board ends when you have installed horizontal cladding. Typically, this is around 5–10mm. This additional space utilises the longitudinal expansion and prevents buckling.
- Ground Clearance: Keep at least 150mm between the bottom of your cladding and the ground. This distance will prevent ingress of moisture and protect the timber from any type of splashback.
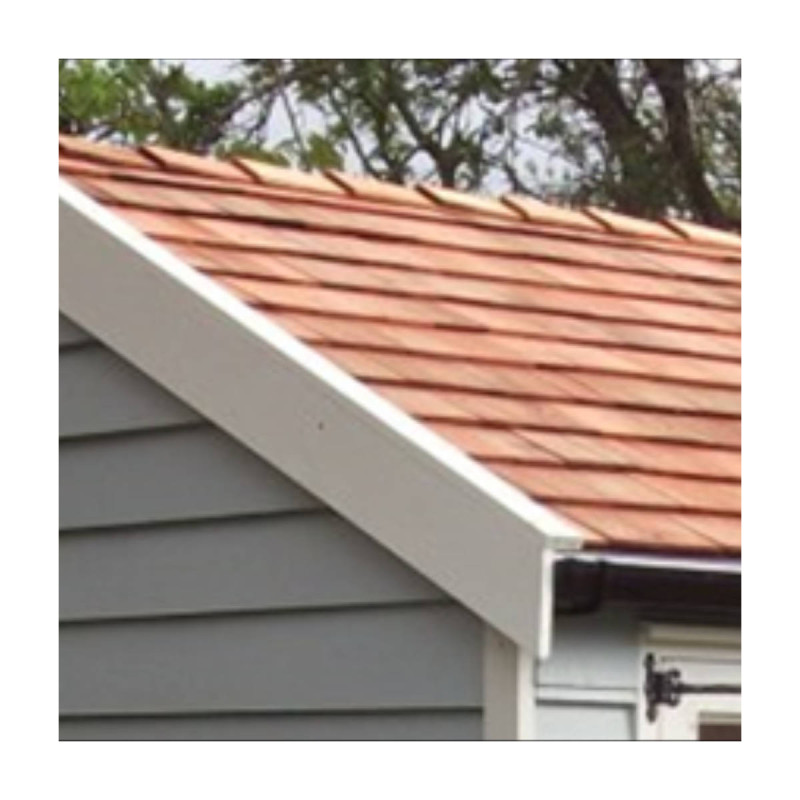
- Top Protection: A sufficient overhang of the roof or good capping design will protect the top edges from getting too much exposure to water.
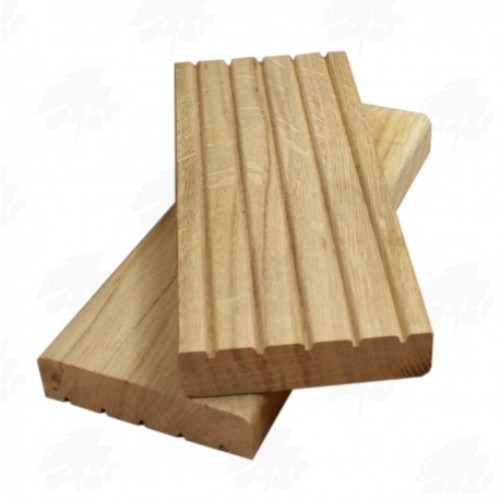
Other Considerations for Various Profiles
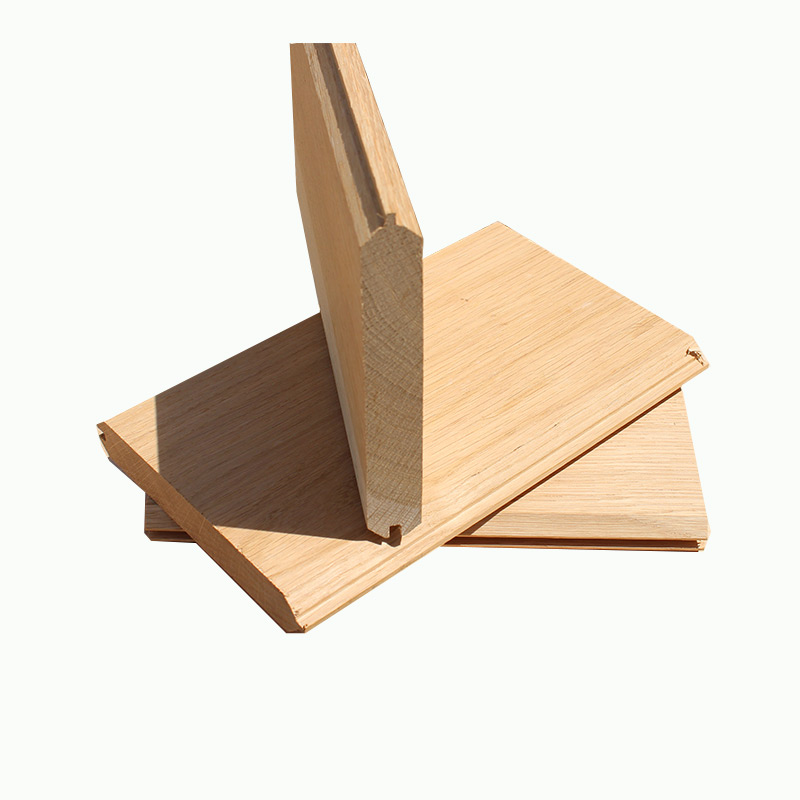
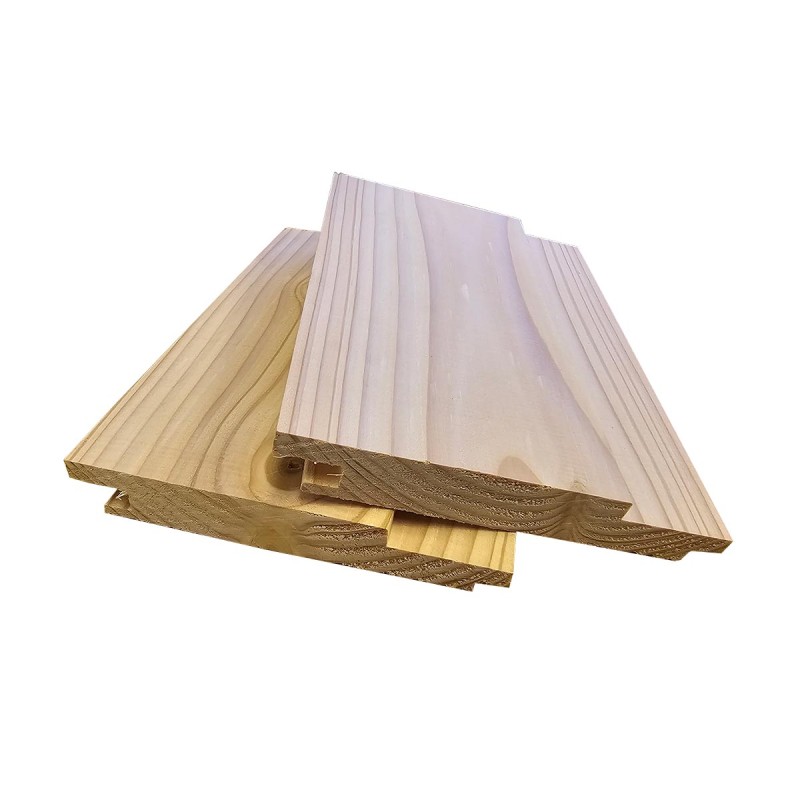
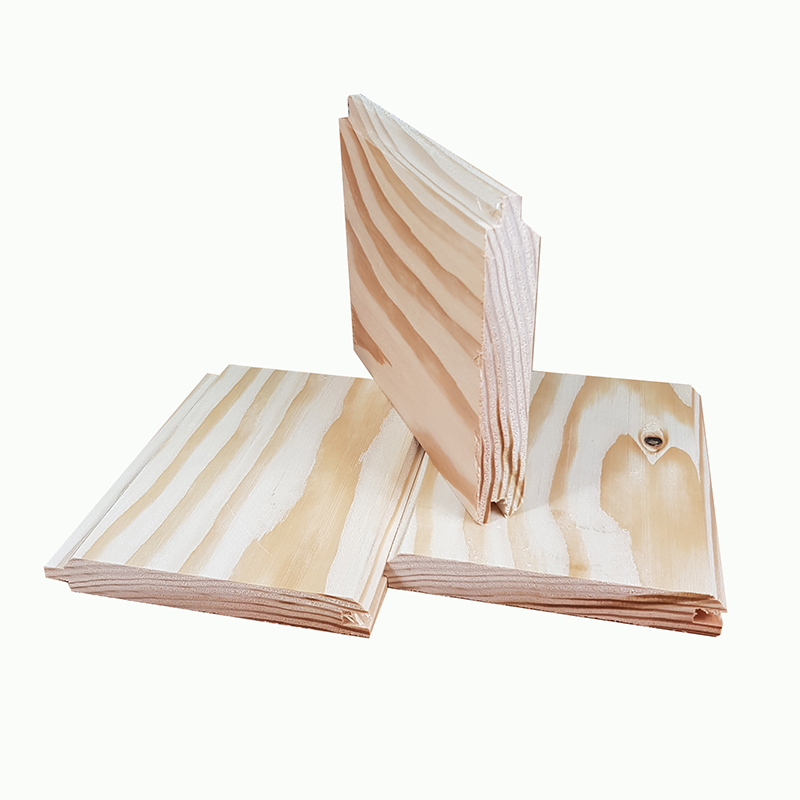
Tongue and Groove
This is one of the most used profiles, designed to be tightly fitted together. It usually has minimal visible spacing; however, do not squeeze the boards or force them too tight. A little space allows for movement and prevents warping.
Shiplap
Like tongue and groove, Shiplap profiles require very little apparent space. The design of overlapping means that small gaps are automatically created but do not over-tighten when fitting.
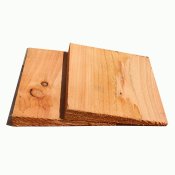
Square-Edged Boards
These simple profiles usually require more spacing. A gap of 5-7mm will allow for expansion and drainage.
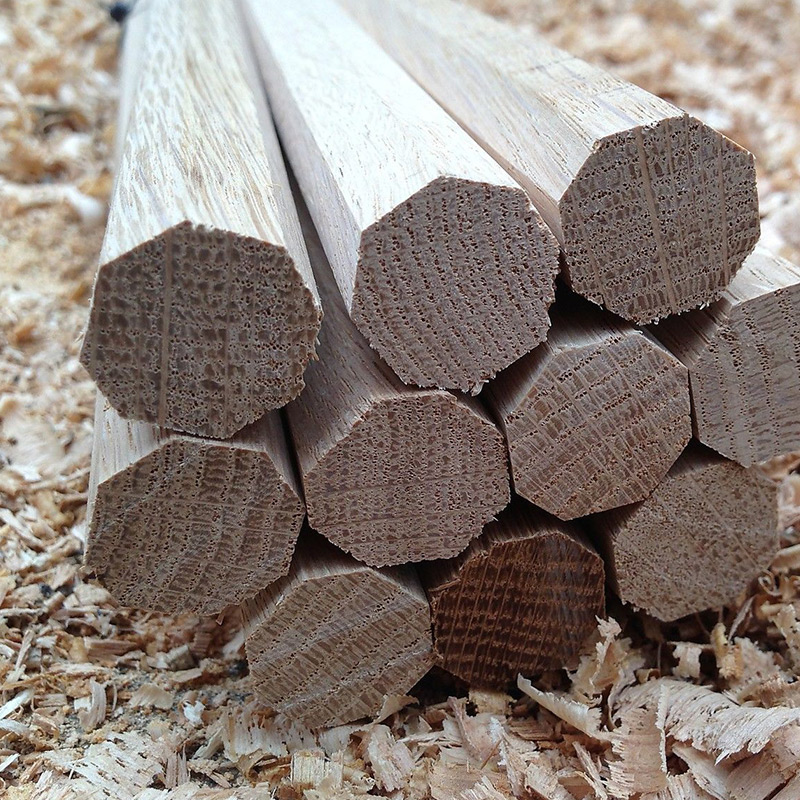
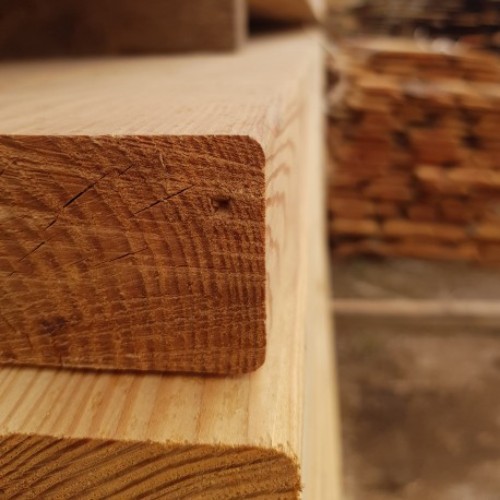
The Role of Timber Selection
The choice of timber can dramatically affect spacing decisions. Tighter spacings might be possible in more dense, stable woods—like oak or larch. However, soft or more reactive species may benefit from extra room to move.
When choosing your timber for the cladding project, consider not only aesthetic appeal but how the natural characteristics of the wood will affect installation and maintenance.
Tips for Perfect Spacing During Installation
It gets a bit tricky to guarantee regular spacing in such a broad cladding project, but a few very basic tricks may do the job:
Use spacers: cut blocks or plastic to small pieces to enable you to get these sorts of gaps regularly along the course.
Pre-drilling: holes not only stop the risk of splitting but also allow you to sight things more accurately.
Acclimatise your timber: allow the wood to acclimatise with local conditions before fixing; this will minimise post-installation movement.
Work with the natural curve of the wood: Setting boards with a natural bow outward will avoid potential warping in the future.
Beyond Spacing: Other Factors for Cladding Success
- While proper spacing is an essential factor, it's only part of the picture. To ensure your timber cladding continues looking great well into the future:
- Select good quality, relevantly durable timber for your local climate.
- Ensure correct installation—including fixings and battens.
- Apply suitable treatments or finishes for protecting the wood.
- Keep your cladding well maintained by regularly inspecting it for any problems and addressing them right away.
Wrapping Up
Getting your timber cladding spacing right might seem like a small detail, but it's space to make those small changes that separates a good job from a great one. Whether you're cladding a garden office, revamping the home exterior, or working on some commercial project, taking the time to get your spacing right will pay dividends in the long run.
Next time you admire a beautifully clad building, look closely at those gaps between the boards. For they are not empty space; they are detailed calculations, and, without them, the project can't succeed. When it's time for you to commence your own timber cladding journey, keep in mind that the answer should be in the details; a beautiful result will also last beautifully.
Click to View Our Range of Timber Cladding Below

or send us an email at
sales@uksleepers.co.uk.


